Mario-Kart-64-HD
Mario Kart 64 HD
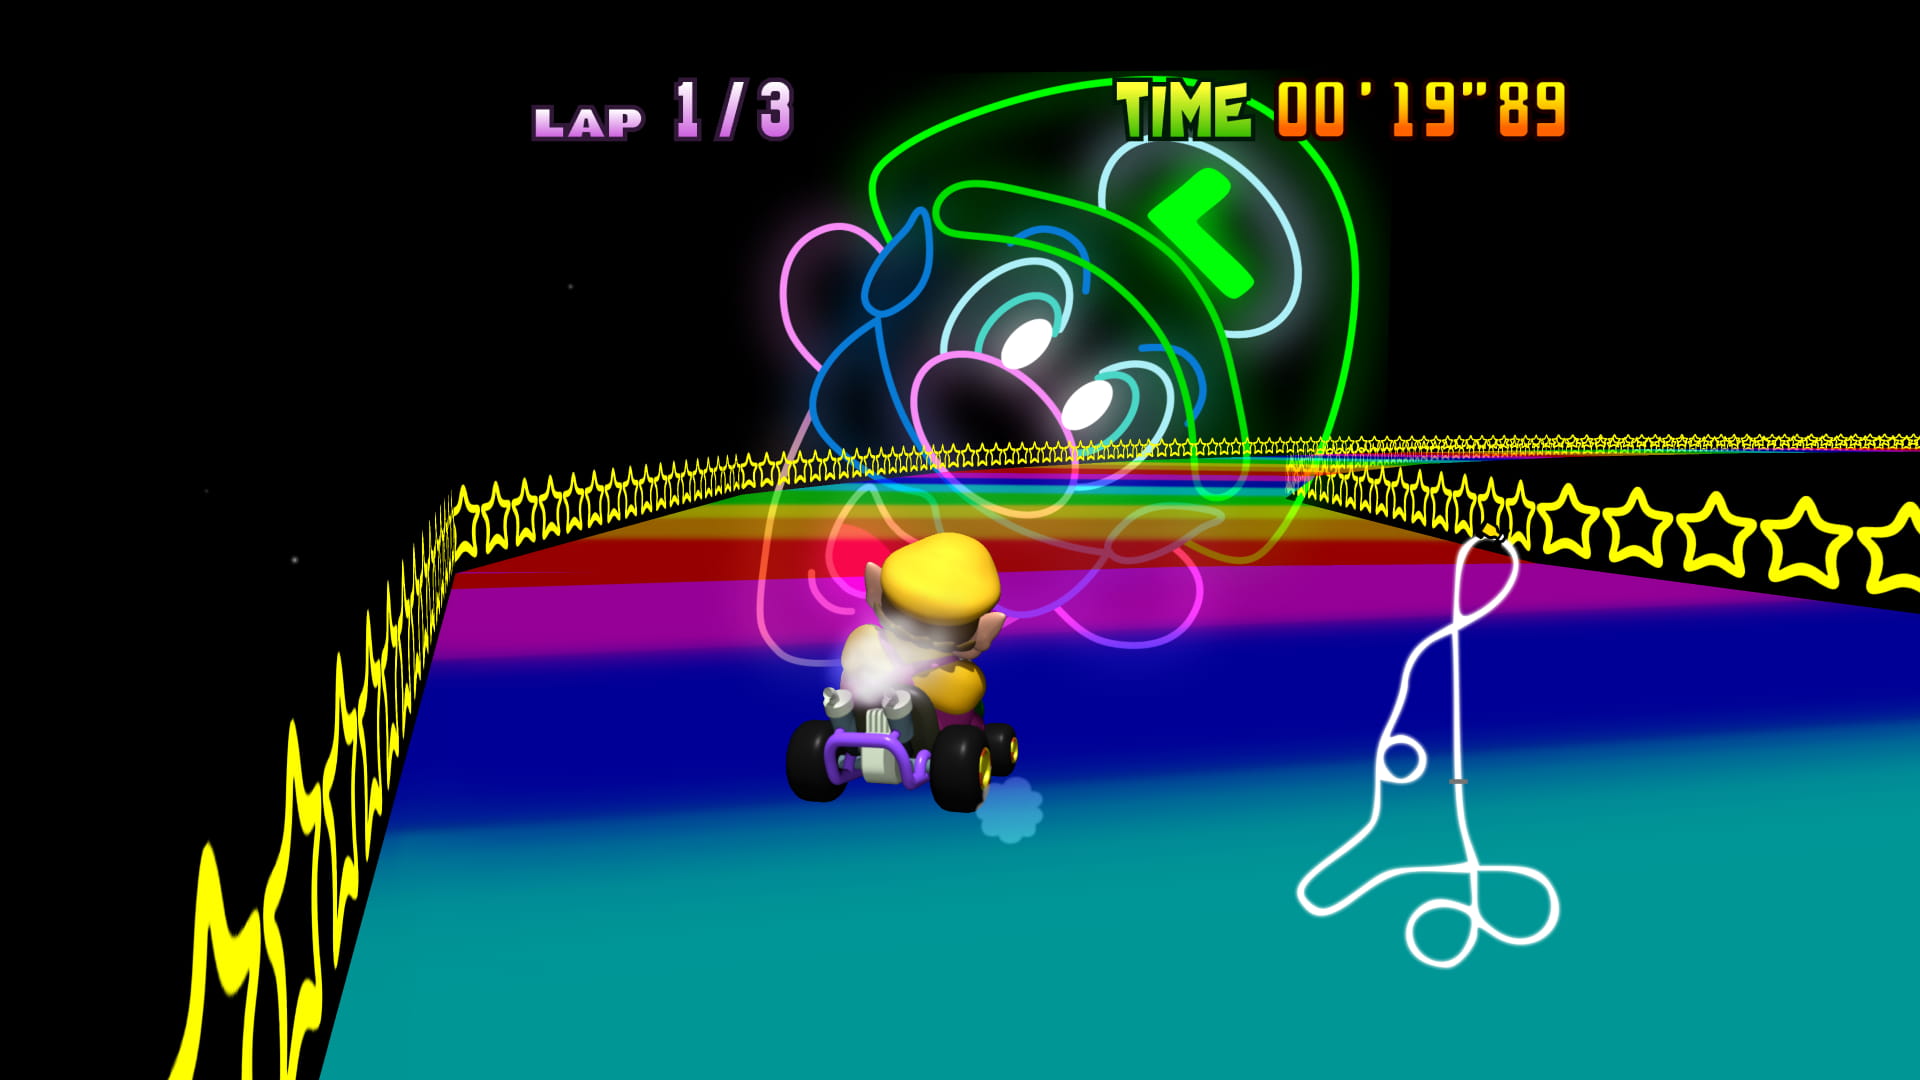
This is a high-definition texture pack for the game Mario Kart 64, for emulators capable of loading High Resolution textures, including any emulator using GLideN64 as video plugin such as Project64, Mupen64Plus and RetroArch as well as Dolphin using a Mario Kart 64 (Wii VC) .wad file.
Where is it?
The files will be hosted off of GitHub, with this README and other necessary files stored here for reference.
Install
Project64 using latest GLideN64 WIP build
- Visit the mirror of the project, then “Download .ZIP”.
- Once downloaded, extract everything that’s inside of the ZIP into your
~/Project64/Plugin/GFX/GlideN64/hires_texture/MARIOKART64folder.1 - Make sure the game runs, then adjust the graphics configuration for your Mario Kart 64 rom by highlighting the game in your ROM Directory within P643.0, then:
- Options > Configuration > Config: Mario Kart 64: Plugins > Video > GlideN64.
- Options > Graphics Settings > Texture Enhancement > Check “Use Texture Pack” and “Use file storage instead of memory cache” and point file paths to the texture pack.
Mupen64Plus using latest GLideN64 WIP build
- Visit the mirror of the project. If you are using Rosalie’s Mupen GUI (RMG), instructions are similar to the ones of Project64.
- Once downloaded, extract everything that’s inside of the ZIP into your
%APPDATA%/Mupen64Plus/hires_texture/MARIOKART64folder.- On Linux, the path is:
~/.local/share/mupen64plus/hires_texture - On macOS, the path is:
~/Library/Application Support/Mupen64plus/hires_texture
- On Linux, the path is:
- Edit the config file found in
%APPDATA%/Mupen64Plus- On Linux, the path is:
~/.config/mupen64plus - On macOS, the path is:
~/Library/Application Support/Mupen64plus
- On Linux, the path is:
- Set the parameter
LoadHiResTexturesandtxHiresTextureFileStoragetoTrue. 2
Retroarch
Use the Mupen64Plus-Next core.
- Visit the mirror of the project.
- Once downloaded, put everything that’s inside of the ZIP into your
~/RetroArch-Win64/System/Mupen64plus/hires_texture/MARIOKART64folder. - Ensure that the
cachefolder exists in the directory. - From the Retroarch main menu, go to Load Core > Download a Core > Nintendo - Nintendo 64 (Mupen64Plus-Next).
- Android users need the
Mupen64Plus-Next GLES3core.
- Android users need the
- Load the target rom, then access the Quick Menu > Options > GlideN64 > Use High-Res textures
- Also enable:
- Cache Textures
- Use High-Res Full Alpha Channel
- Use Hi-Res Storage
- Also enable:
Dolphin latest WIP build
- DDS textures are highly recommended. These can be found here.
- Extract the ZIP file into
%username%/Documents/Dolphin Emulator/Load/Textures(~/.local/share/dolphin-emu/Load/Textureson Linux,~/Library/Application Support/Dolphin/Load/Textureson macOS). - Graphics > Advanced > Load Custom Textures
- Graphics > Advanced > Prefetch Custom Textures (requires high amounts of RAM)
-
The path to the textures may differ and can be changed using GLideN64 settings. ↩
-
The respective .htc or .hts file will need to be created during the first startup. This takes time and the created file will be stored in the cache directory. Note that Project64 is 32-bit, so using .htc is going to fail due to memory restrictions. ↩